
Loft Insulation Guide: How Much Does It Cost and Save?
The Short Answer
There are two completely different jobs here and only one of them is a bargain. Insulating a bare loft to 270mm costs about £750 on a semi and saves about £190 a year, so it pays for itself in roughly four years. Do it, and do it now. Topping up from 120mm to 270mm costs about £600 and saves about £17 a year, which is a 35-year payback. Do that one for comfort, for a quieter house and to get ready for a heat pump, not because the maths works. All figures are the Energy Saving Trust's for Great Britain.
Up to 25% of an uninsulated home's heat goes out through the roof, which is why loft insulation is the first thing anybody recommends. What almost nobody tells you is how steeply the returns drop once you already have a decent layer up there. This guide covers what each version of the job costs, what it actually saves, the grants, how to do it yourself, and the mistakes to avoid.
Why Loft Insulation Matters
Heat rises. In an uninsulated or under-insulated loft, the warmth you have paid to generate simply passes through the ceiling and dissipates into the cold roof space and out through the tiles. Insulating the loft floor creates a thermal barrier, keeping that heat where it belongs: in your living space.
UK building regulations currently require a minimum of 270mm of mineral wool insulation in new builds. The majority of older UK homes fall well short of this. A home insulated in the 1980s may have 100mm or less, and some pre-1970s homes have nothing at all. Even 150mm of insulation performs significantly worse than 270mm.
Loft Insulation Costs in 2026
DIY Costs
If you are reasonably capable with DIY work, laying mineral wool rolls yourself is well within reach for most homeowners. Material costs for a typical semi-detached house (approximately 50m² of loft floor area) are:
| Task | Material Cost | Notes |
|---|---|---|
| Top-up from 100mm to 270mm (170mm needed) | £150 – £300 | Lay rolls across joists at right angles to existing insulation |
| Full installation from scratch (270mm total) | £300 – £600 | 100mm between joists + 170mm across joists |
You will also need a dust mask rated FFP2 or higher, safety goggles, disposable gloves, and a board to kneel on across the joists. Do not kneel on the plasterboard ceiling; it will not support your weight. For a full shopping list of the best insulation rolls and accessories, see our best loft insulation products guide.
Professional Installation Costs
The Energy Saving Trust publishes a single Great Britain figure for each job: £750 to go from a bare loft to 270mm, and £600 to top up from 120mm to 270mm. In Northern Ireland it's £1,100 and £700. Split by house type, its published costs are:
| Property Type | Bare loft to 270mm | 120mm to 270mm top-up |
|---|---|---|
| Mid-terraced house | £650 | £500 |
| Semi-detached house | £750 | £600 |
| Detached house | £1,100 | £800 |
| Detached bungalow | £1,200 | £800 |
Notice the top-up isn't much cheaper than the full job. You're paying for the same visit, the same access and most of the same material, just a slightly thinner layer. That matters a lot once you see what each one saves.
Professional installation includes labour, materials, and will often come with a guarantee. Many installers use blown insulation (loose fill) rather than rolls, which fills awkward corners and around joists more effectively.
How Much Can Loft Insulation Save?
This is where the two jobs part company. Energy Saving Trust figures for a gas-heated home in Great Britain, with the payback worked out from its own cost and savings numbers:
| Property Type | Bare loft to 270mm | 120mm to 270mm top-up | ||
|---|---|---|---|---|
| Saving/year | Payback | Saving/year | Payback | |
| Mid-terraced house | £140 | ~5 years | £13 | ~38 years |
| Semi-detached house | £190 | ~4 years | £17 | ~35 years |
| Detached house | £360 | ~3 years | £35 | ~23 years |
| Detached bungalow | £350 | ~3 years | £35 | ~23 years |
So: if your loft is bare, this is one of the best things you can do with £750, and we'd tell anyone to get on with it. If you already have 120mm up there, a professional top-up will not pay for itself in your lifetime. That's not a reason never to do it, but it is a reason to be honest about why you're doing it.
Then Why Top Up At All?
Three good reasons, none of them financial:
- Comfort. Upstairs rooms stop feeling cold under the ceiling, and the house holds its heat overnight instead of dumping it by 3am.
- Heat pump readiness. Every kilowatt you knock off your heat loss is a kilowatt of heat pump you don't have to buy, and it lets the system run at a lower flow temperature, which is where the running-cost saving comes from. See our guide on insulating before a heat pump.
- It's nearly free if you DIY it. £150 to £300 of rolls against a £17 a year saving is still a slow payback, but a Saturday and £200 is a very different decision from a £600 contractor invoice.
Homes on heat pumps rather than gas will see different cash figures, because heat pump heat currently costs less per kWh than gas heat. The kilowatt-hours you save are the same either way.
Grants for Loft Insulation
Great British Insulation Scheme (GBIS): Closed
GBIS closed on 31 March 2026. Loft insulation used to be one of its core funded measures for households in council tax bands A to D in England (A to E in Scotland and Wales) with an EPC of D or below. ECO4 is the remaining Great Britain route and it closes on 31 December 2026; in England the Warm Homes: Local Grant funds loft insulation too, on an income test rather than a benefits test.
ECO4
Households on qualifying means-tested benefits can receive free loft insulation under ECO4, administered through energy suppliers. Qualifying benefits include Universal Credit, Pension Credit, Child Tax Credit, Housing Benefit, and others.
Scotland and Wales
The Home Energy Scotland Grant and Loan puts loft, cavity and underfloor insulation in the same bracket: a grant of up to £1,500 per improvement, with an optional interest-free loan of up to £500 per improvement on top. You don't need to be on benefits, but you must own and live in the property, and rural and island homes get a £1,500 uplift. Spray foam isn't funded. The separate Warmer Homes Scotland scheme covers the full cost for eligible households. In Wales, Nest funds insulation for households that pass its eligibility check, which you can start from gov.wales.
DIY Loft Insulation: A Step-by-Step Guide
Laying mineral wool rolls is one of the few home energy improvements that a competent DIYer can tackle confidently. Here is how to do it correctly.
What You Need
- Mineral wool insulation rolls (100mm and 170mm, or 270mm deep rolls if your joists are deep enough)
- FFP2 or FFP3 dust mask (essential; fibreglass fibres are irritating to lungs)
- Safety goggles
- Disposable gloves and long sleeves
- Loft boards or plywood sheet to kneel on
- Torch or head torch
- Tape measure and scissors or a serrated knife to cut rolls
Step 1: Prepare the Loft
Check the loft for any damage: look for signs of damp, leaks, or bird nesting. Ensure the loft hatch is accessible. If there are any pipes or tanks in the loft, note their location; pipes above the insulation layer need their own lagging, as they will no longer be kept warm by rising heat from the house below.
Step 2: Insulate Between the Joists
Start by laying the first layer of mineral wool between the ceiling joists. Cut the rolls to length and push them down so they sit flush with the top of the joists. Do not compress the insulation; its effectiveness comes from the air trapped within the fibres. Fill all gaps, including around the loft hatch frame.
The first layer is typically 100mm, which fills most standard joist depths. If your joists are deeper, fill them entirely.
Step 3: Lay the Cross Layer
The second layer is laid at right angles across the joists. This cross-hatching pattern eliminates thermal bridging through the joists themselves. Use 170mm rolls to bring the total to 270mm, or 200mm rolls if you are adding a thicker top layer.
Do not compress the top layer by storing items on top of it. If you need storage space, lay loft boards on raised battens above the insulation.
Step 4: Insulate the Loft Hatch
The loft hatch is a significant weak point. Attach a piece of rigid insulation (such as 100mm PIR board) to the top of the hatch door, and fit draught-proofing strip around the frame. This is a small job that makes a noticeable difference.
Step 5: Lag Pipes and Tanks
Any pipes, water tanks, or cisterns in the loft must now be lagged with pipe insulation or tank jackets. They are no longer sitting in a warm air space; they will be exposed to freezing temperatures in winter without protection.
Loft Room vs Loft Space: A Different Approach
If your loft is a converted living space, or is used regularly for storage, the approach is different. Instead of insulating the floor (between house and loft), you insulate the roof slope (rafters) and the end walls (gable walls).
Warm roof insulation (insulating between and above the rafters) is more effective than cold roof insulation (insulating between the rafters only) but requires a roofer or specialist installer. Cold roof insulation can cause condensation problems on the underside of the roof if not installed with adequate ventilation; this is a job for a professional, not a DIYer.
The cost of insulating a loft room rises significantly: typically £3,000–£8,000 for a full warm roof conversion, depending on roof area and complexity.
Top-Up vs Full Replacement
If you already have some insulation (say, 100mm laid in the 1980s) you do not need to remove it. Simply lay a new cross layer of 170mm rolls on top to bring the total to 270mm. The existing insulation is still doing useful work, even if it has settled slightly over time.
Full replacement is only worth considering if the existing insulation is heavily contaminated (bird droppings, mould, or pest infestation), damaged by water, or so badly settled that it has lost its structure.
Common Mistakes to Avoid
- Compressing the insulation: Squashing mineral wool reduces its effectiveness. Do not stack items directly on rolls.
- Leaving gaps: Cold bridges at the eaves, around the loft hatch, and between rolls all undermine performance. Be thorough.
- Blocking eave ventilation: Lofts need airflow to prevent condensation. Do not push insulation right to the edge of the eaves; leave a gap for air to circulate. Use eave ventilation trays to maintain the airflow path.
- Forgetting to lag pipes and tanks: This can lead to frozen and burst pipes in winter, which is far more expensive than the cost of pipe insulation.
- Not wearing protection: Mineral wool fibres cause skin and lung irritation. Always wear a dust mask, goggles, and gloves.
Loft Insulation and Heat Pumps
If you are planning to install a heat pump in the next few years, loft insulation is the first measure to complete. It's cheap, it's non-disruptive, and it directly reduces your home's heat loss, which means your installer can specify a smaller heat pump running at a lower flow temperature. That's worth thousands on the machine and a permanently better efficiency, and it's the one case where a 120mm to 270mm top-up earns its keep despite the 35-year payback on the bill alone. Read our guide on whether to insulate before getting a heat pump.
For a broader overview of all insulation options and how they compare, see our home insulation costs guide. Use our insulation savings calculator to estimate your annual savings based on your home type.
Summary
Go up there with a tape measure before you do anything else, because the answer depends entirely on what you find. Nothing, or under 100mm? This is one of the best £750 you'll ever spend on your house, and about £300 to £600 if you lay it yourself over a weekend. Already at 120mm or more? The top-up saves about £17 a year, so treat it as a comfort and heat-pump-readiness job, do it yourself if you can, and put your money into heating controls, draught proofing and turning the thermostat down a degree first. Those three are worth roughly £275 a year between them (£120 + £100 + £55 on Energy Saving Trust figures) for £250 to £350 of kit, and one of them is free. And whatever your depth, check ECO4 eligibility before you spend anything: it runs until 31 December 2026 and it pays the whole bill for households that qualify.
Everything You Need for DIY Loft Insulation
Loft insulation is one of the easiest and most rewarding DIY energy upgrades. Here is what you need.
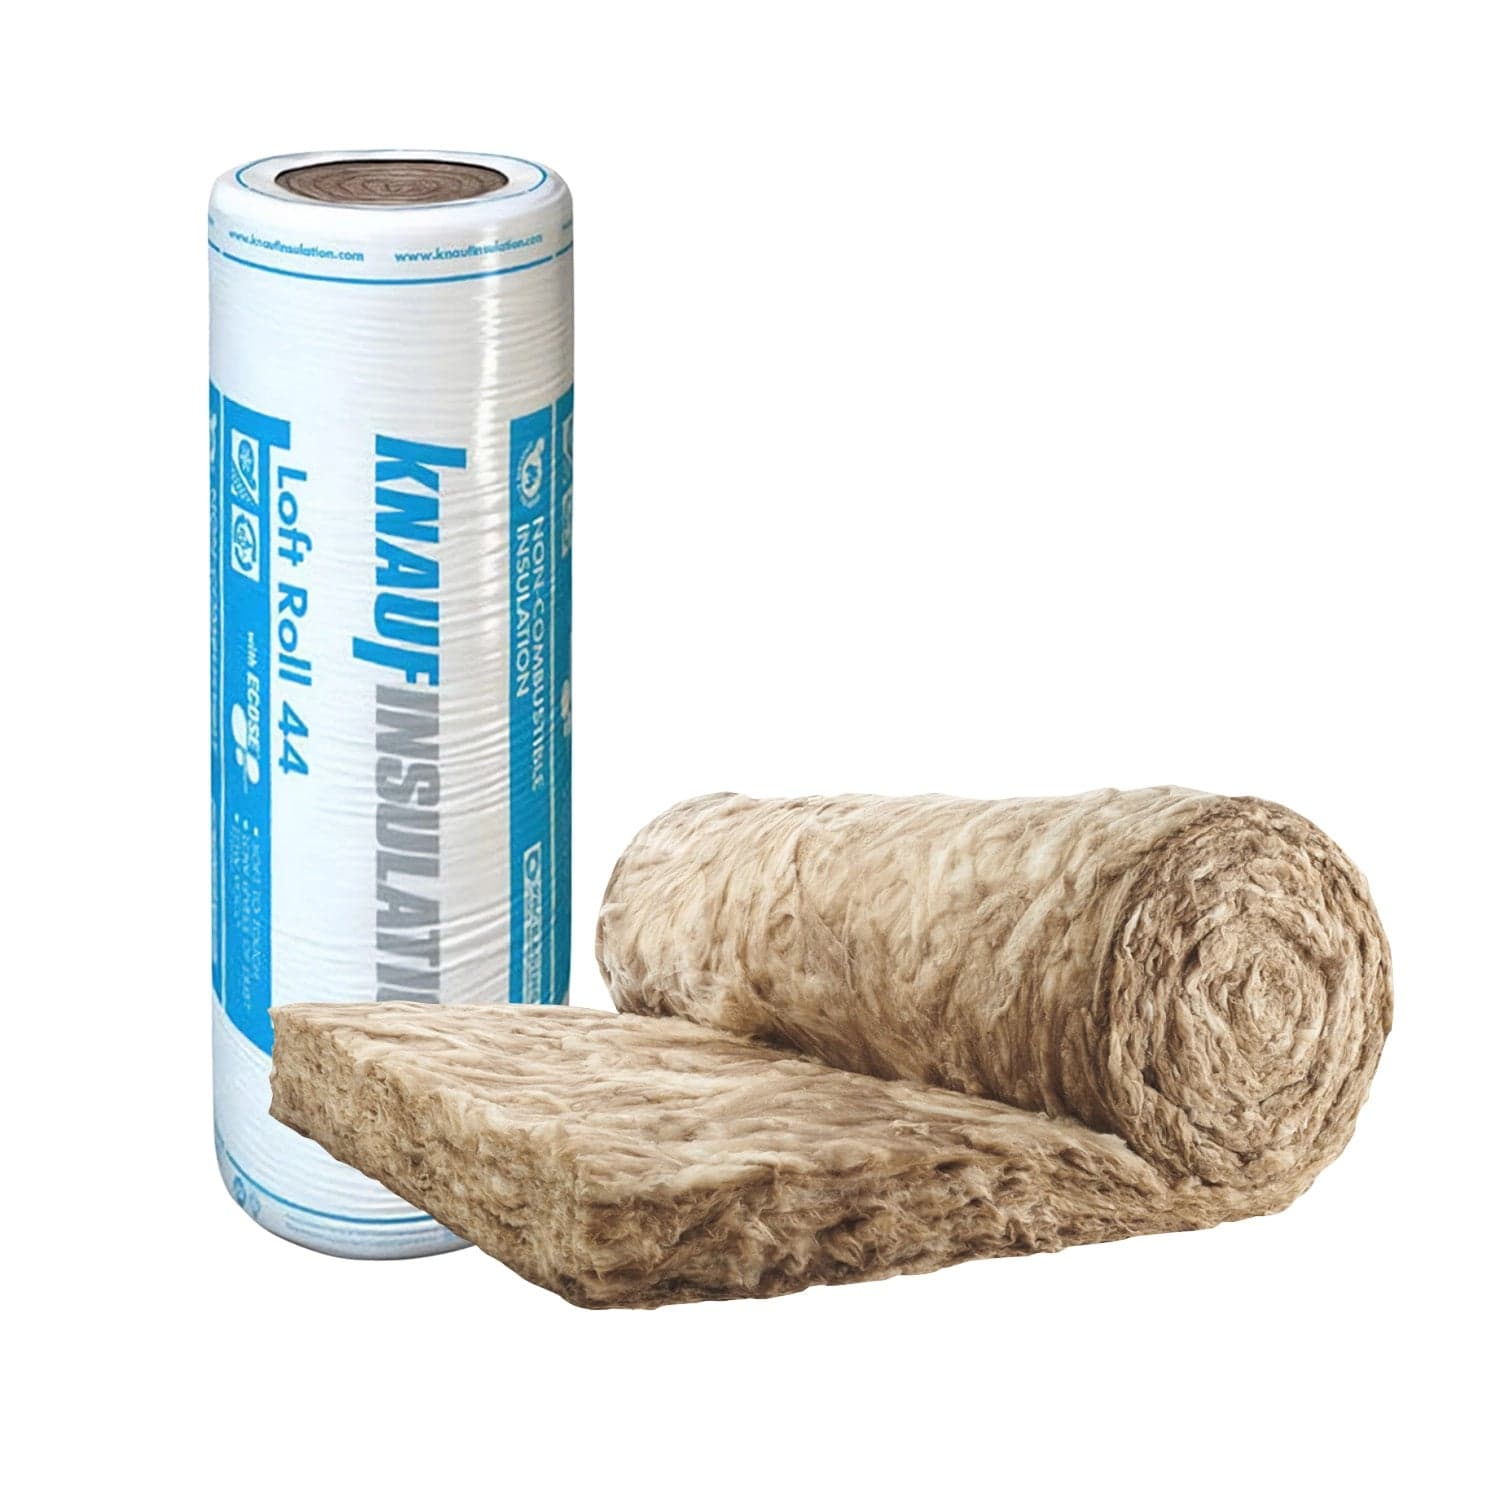
Knauf Loft Roll 44: 170mm
£49.99Top up existing loft insulation to reach the recommended 270mm. One of the most cost-effective energy upgrades.
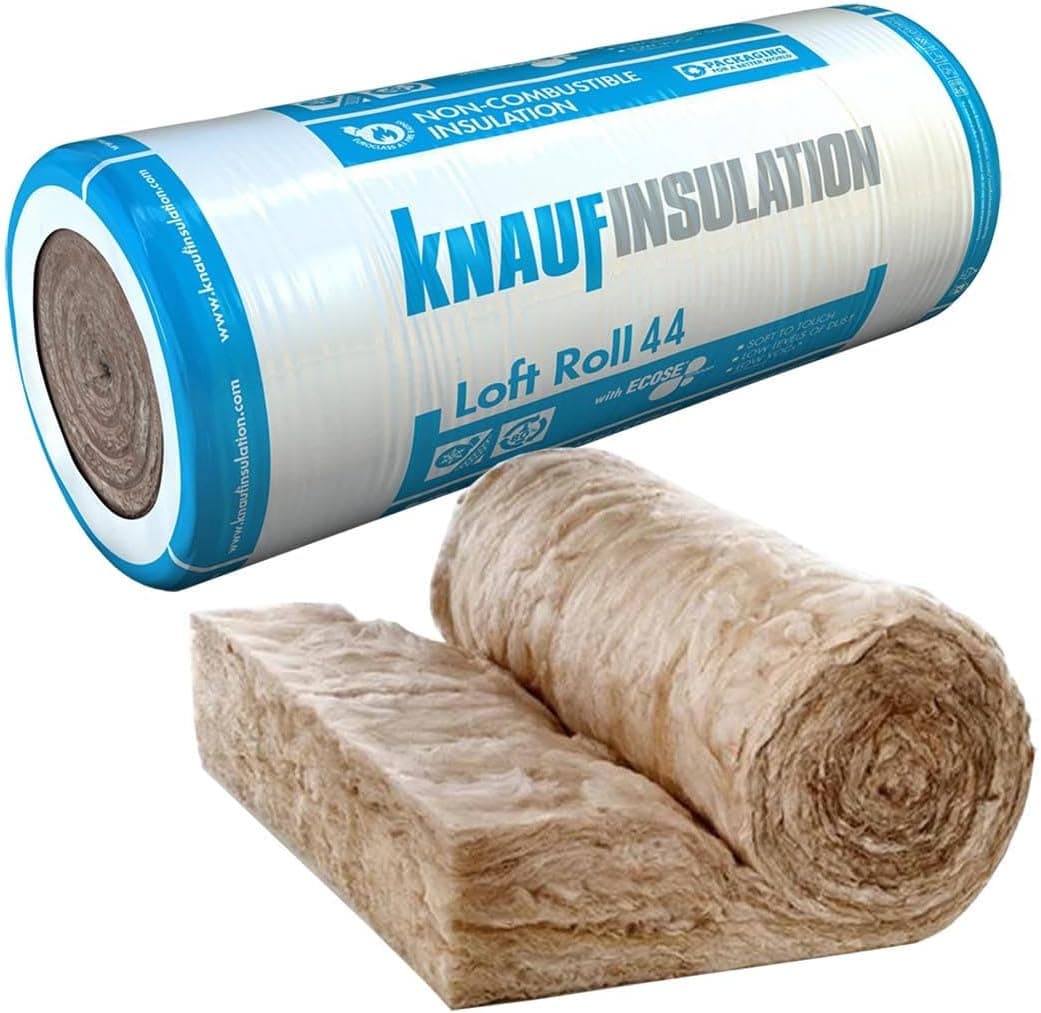
Knauf Loft Insulation Roll: 100mm
£52.99Ideal for topping up thin existing insulation. Lay between joists before adding a 170mm cross-layer on top.
Loft Leg Insulation Spacers (12-Pack)
£23.99Board your loft for storage without squashing insulation. Compressed insulation loses effectiveness.
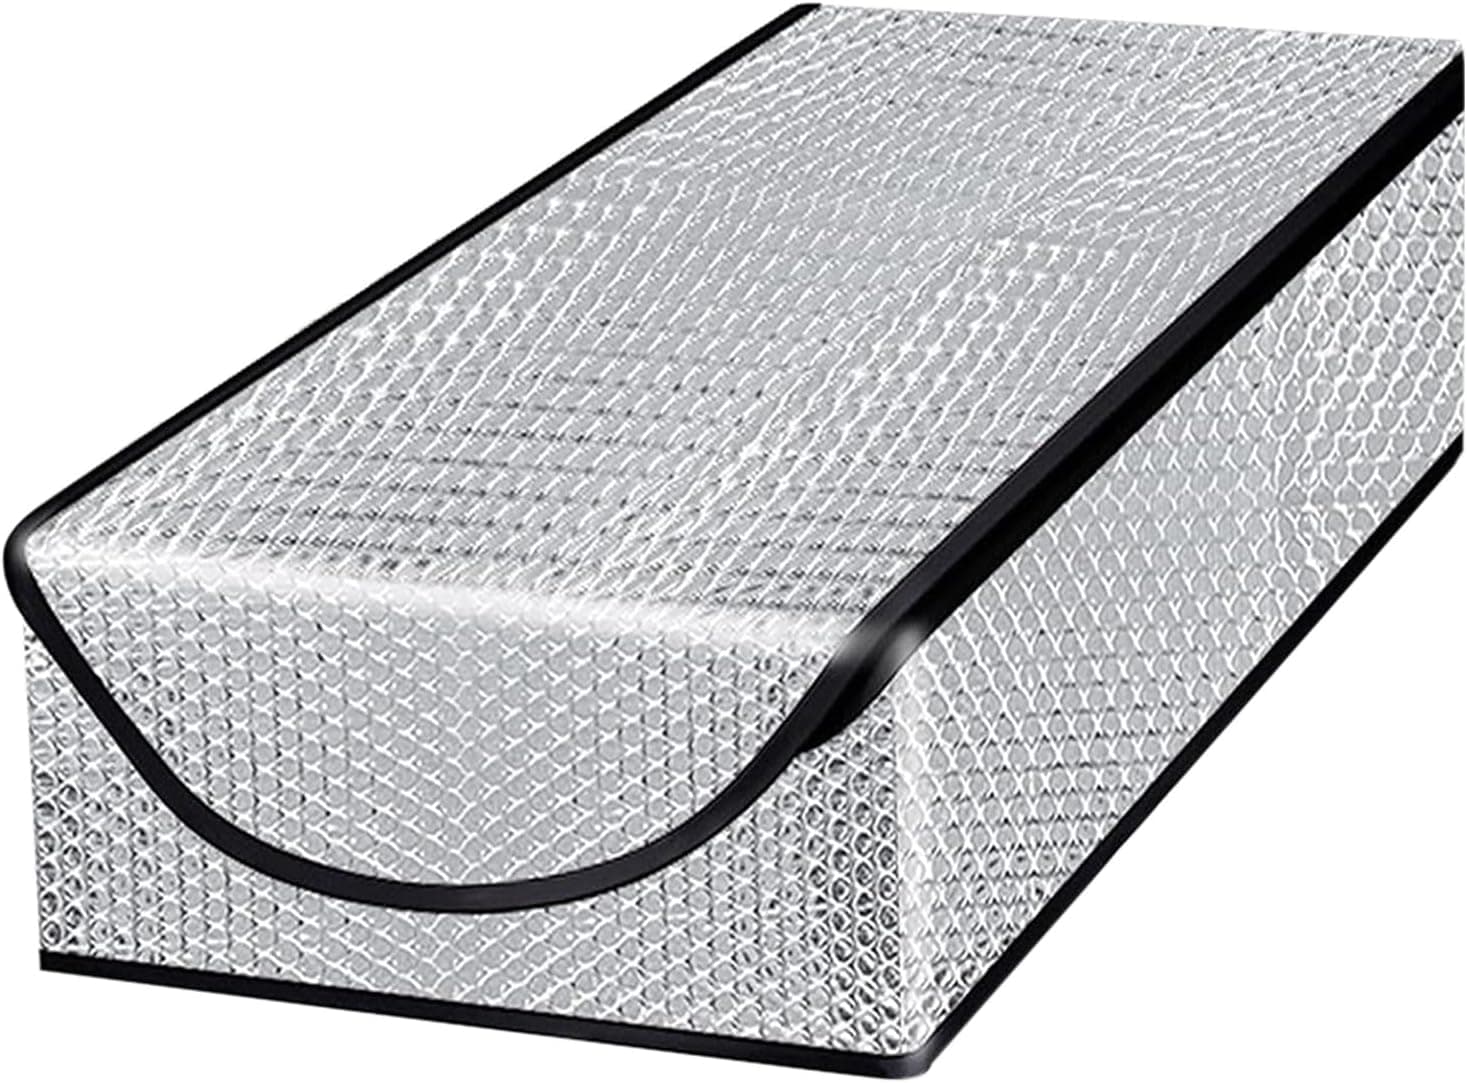
Loft Hatch Insulation Cover
~£25An uninsulated loft hatch is a significant heat loss point. This is a 5-minute fix.
As an Amazon Associate we earn from qualifying purchases. Prices and stock are checked against Amazon every few hours and may have changed since.
